How To Clean an Air Purifier?
We don’t often think about certain little things in life until it’s absolutely necessary to do so. Changing smoke alarm batteries, for instance. How many times have you been woken up by an incessant beeping sound on the first cold morning of fall, reminding you that it’s time to get out the ladder and change the batteries? Air purifiers are no different and require some periodic maintenance.
Often, it takes noticing how poor the indoor air quality in your home is to know it’s time to clean or replace your purifier’s air filters, but Carrier air purifiers are smart enough to let you know. In this article, we’ll show you how to clean an air purifier, how to know when it’s time and how Carrier’s built-in air quality sensors alert you to the need for replacement.
Do You Have a Clean Air Purifier?
If you’re reading this, chances are you are wondering whether it’s time to change the air filter in your air purifier. Firstly, let’s talk about why it’s important to replace the filters in your air purifier. Think about the main function of an air purification system: it works to trap allergens and irritants such as dander, pollen and smoke from your home’s air. In doing so, these microscopic particles collect inside your air purifier’s filter instead of inside your lungs. To maintain cleaner air in your home, every now and then, you’re going to need to either clean or replace the filter. Doing so will free your purifier to do its job at optimal efficiency, regardless of season. It’ll also keep your purifier running for a much longer time when you properly maintain it.

In other words, a clean air purifier is a happy air purifier.
Depending on the number of air changes per hour produced by your Carrier air purifier along with the type and quantity of pollutants in your home’s air, you will benefit from sticking to a regular changing schedule for your air filters. Whether the purifier is in your living room, bedroom, or any other room where you’re seeking clean air, it’s critical to keep the filters clean for optimal performance. More on that below.
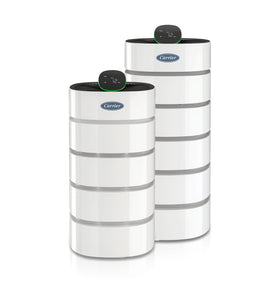
Learn more about Carrier’s air purifiers and air purifier filters here.
How Often To Clean an Air Purifier?
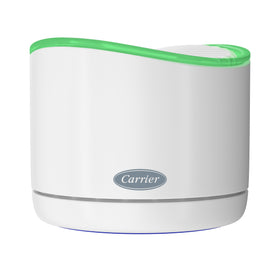
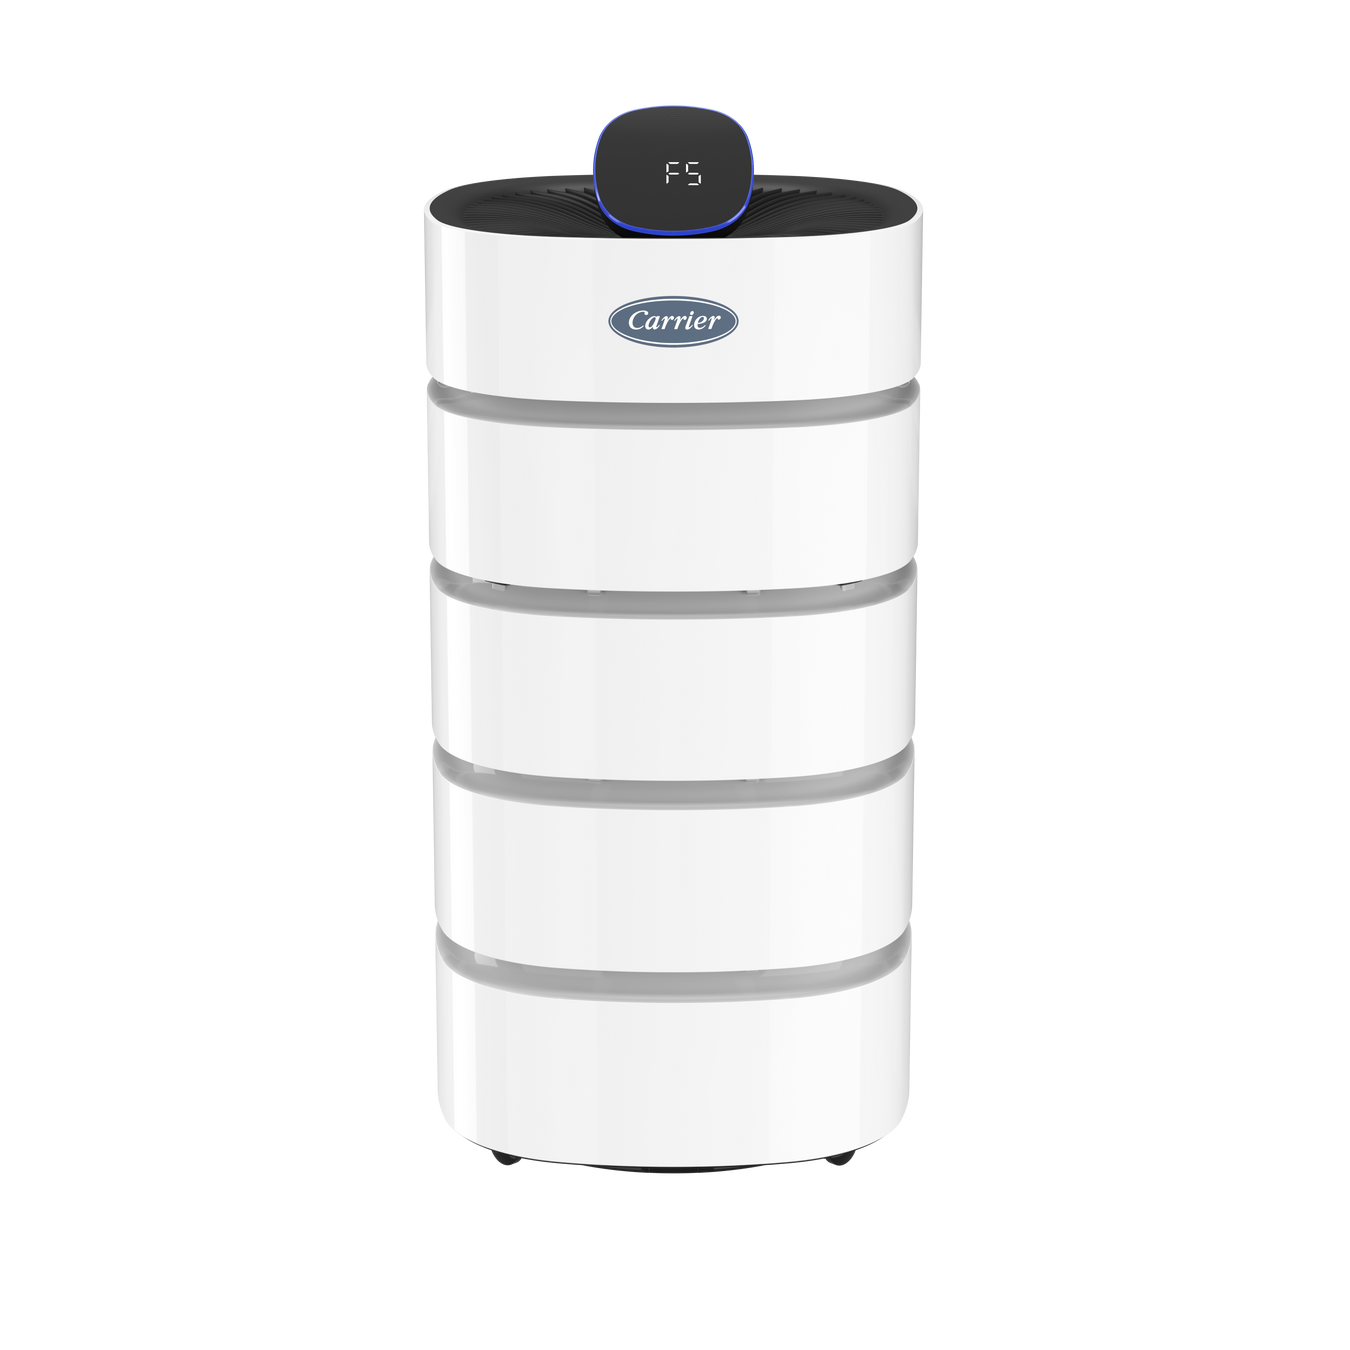
With many air purifiers and HVAC systems on the market, it’s up to the consumer to figure out when to change the filters. Not so with Carrier air purifiers. The Carrier air purifier and smart air purifier both include a filter change indicator. With this feature, an icon turns red on the unit’s display screen when it’s time to replace.
Still, if your home harbors pet odors and smells from cooking and smoke, it’s best to stick to a regular, proactive changing schedule to keep filter trapping consistent. For this, we recommend you change the air filter every six to 12 months.
In between changings, we recommend following these steps1:
- Power off and unplug air purifier before cleaning.
- Using a damp cloth, clean the exterior of the room air purifier and wipe dry with a soft cloth
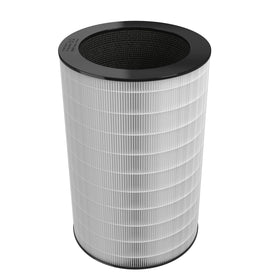
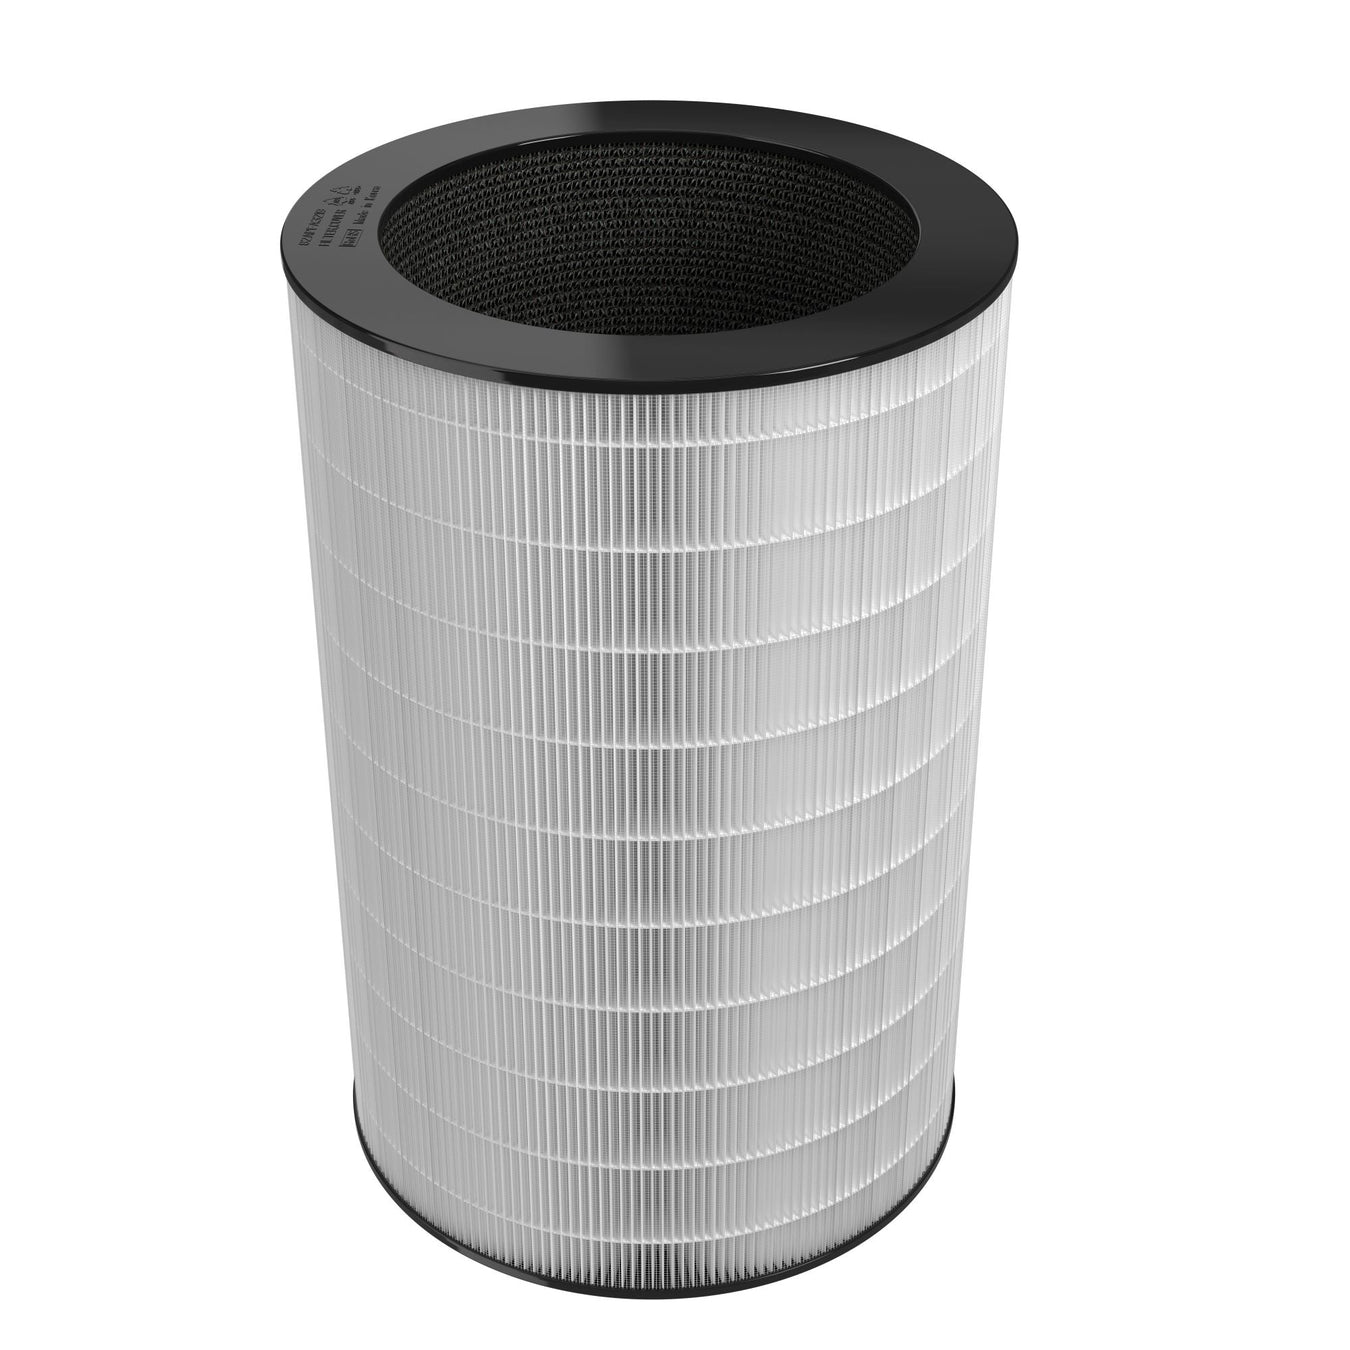
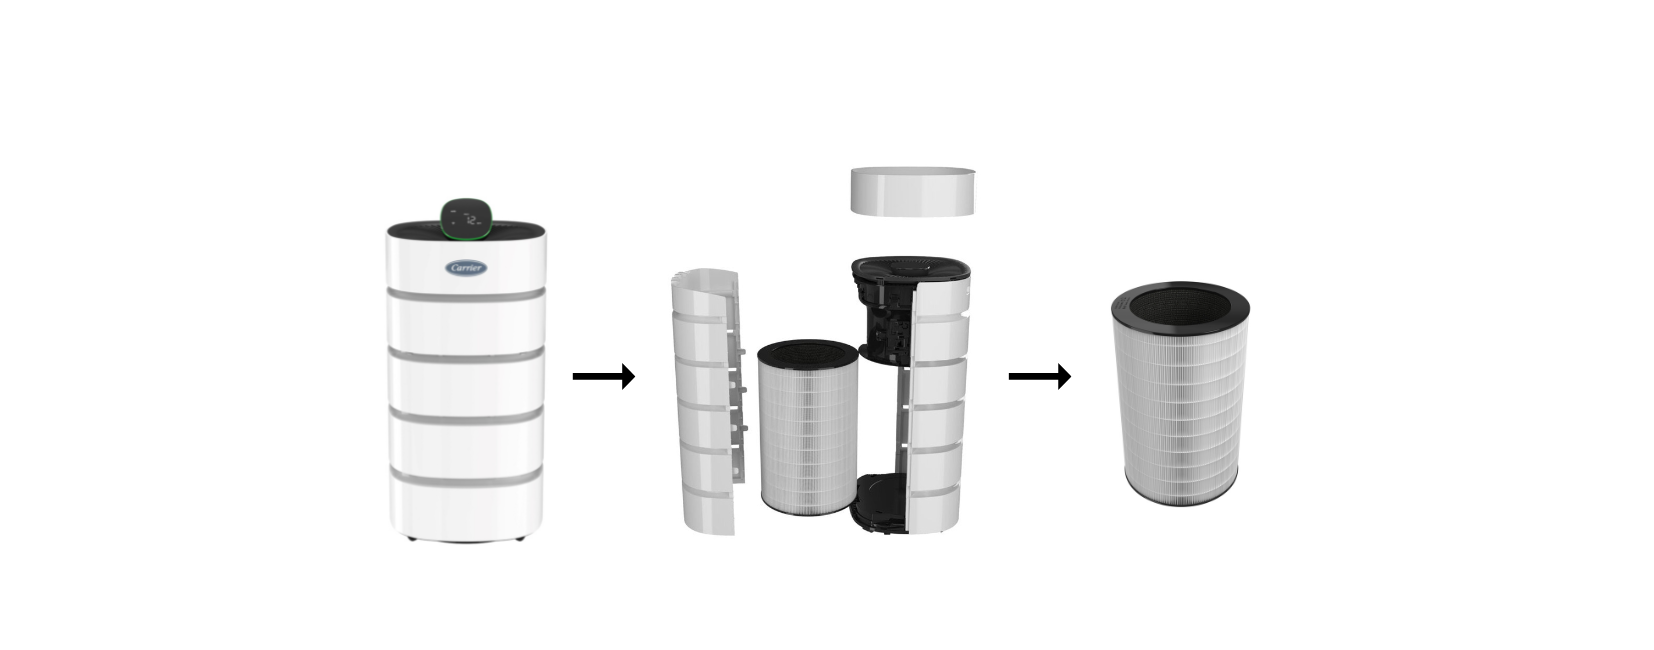
- Open the filter cover on the back and remove the filter. Clean the inside of the filter cabinet with a vacuum cleaner and damp towel.
- Clean the pre-filter with a vacuum cleaner or a soft brush
- Clean the product and the pre-filter once or twice a month.
Note: Never wash the filter with water. It’s important that you DO NOT wash any of the Carrier’s air filters. Washing them will deactivate the carbon filter and reduce the filter’s ability to clean the air in your home. Instead, they can be gently cleaned as outlined above.
Some other helpful tips:
- When in doubt, replace the filter.
- Keep backup filters on hand for times when the air is particularly dirty, such as during wildfires, pollen season or if you have multiple pets.
We also recommend cleaning the dust sensor by following these steps1:
- Power off and unplug unit.
- Hold the top cover of the product with both hands and pull up
- Grasp the filter cover hole on the rear and pull cover out and then up to remove and access filter
- Remove the cover of the dust sensor located on the right side of the product.
- Wipe the lens and inlet of the dust sensor with a damp cotton swab. Thoroughly dry with a clean, dry cotton swab
- Replace the cover of the dust sensor. Replace the filter cover. Replace the top cover of the product with the logo facing the front

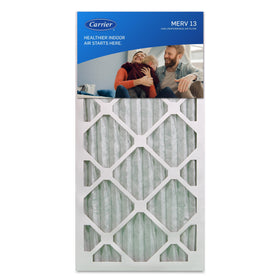
Shop Carrier’s air purifier replacement filters and watch a helpful video on how to successfully replace your Carrier air purifier air filter. See Carrier air purifier User Manual
For any other questions, get in touch with your local HVAC dealer. They will help you with all your home heating and cooling needs including system selection, maintenance and repairs.

